









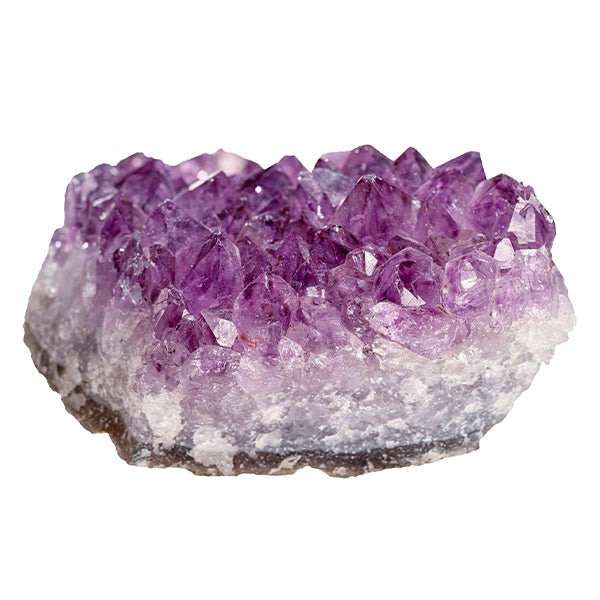

The seven-stone focal
Chakra mix · 10 mm
A 15–16 inch strand contains approximately 39 beads. Choose seven beads: one of each gemstone in the mix. Check your strand before planning extra bracelets; the number of each stone can vary.
View product →
Free Shipping on Most Orders Over $150* – Learn More >
 Bails
 Bolo Tie Acc.
 Bookmarks
 Brooch & Bar Pins
 Buckles
 Buttons
 Caps & Cones
 Chain Extenders
 Clasps
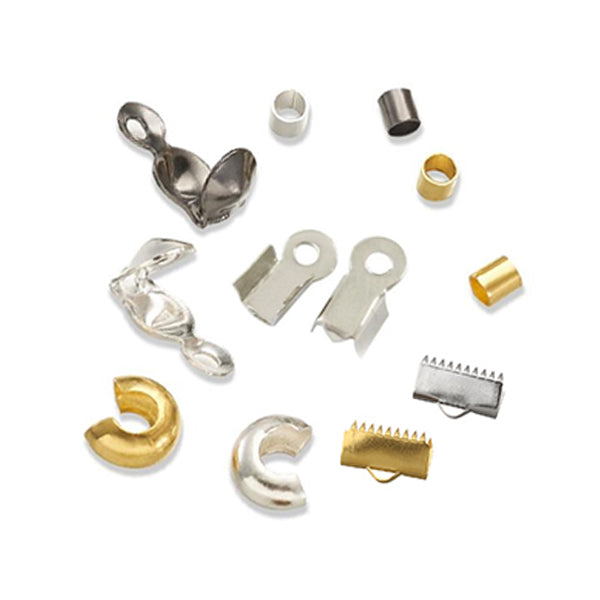 Crimps & Ends
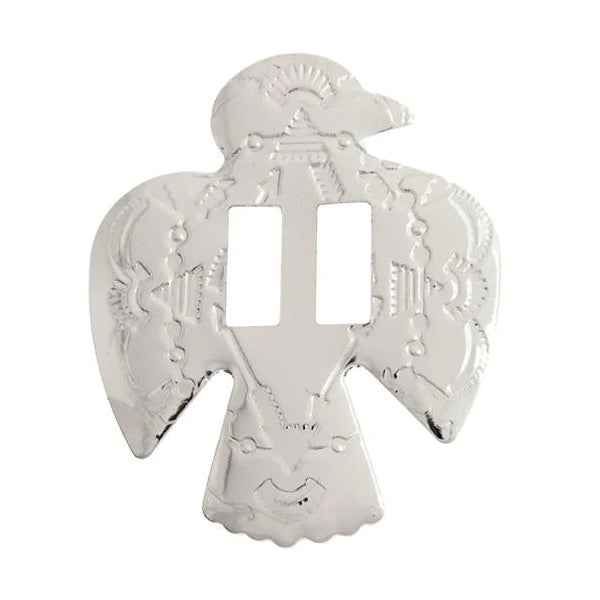 Conchos
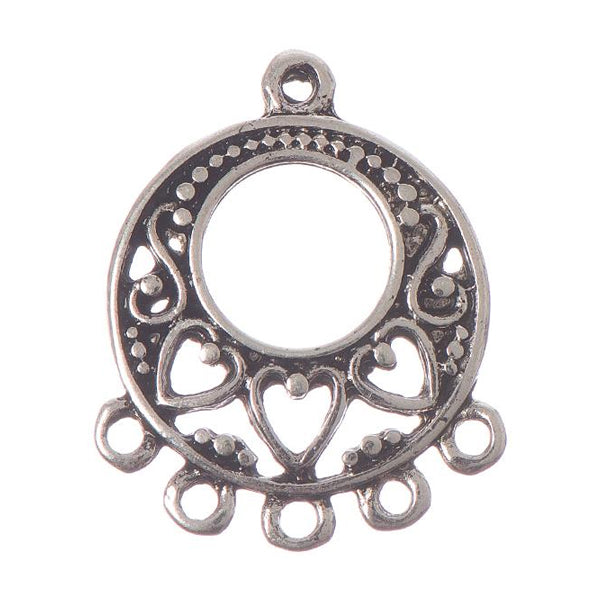 Connectors
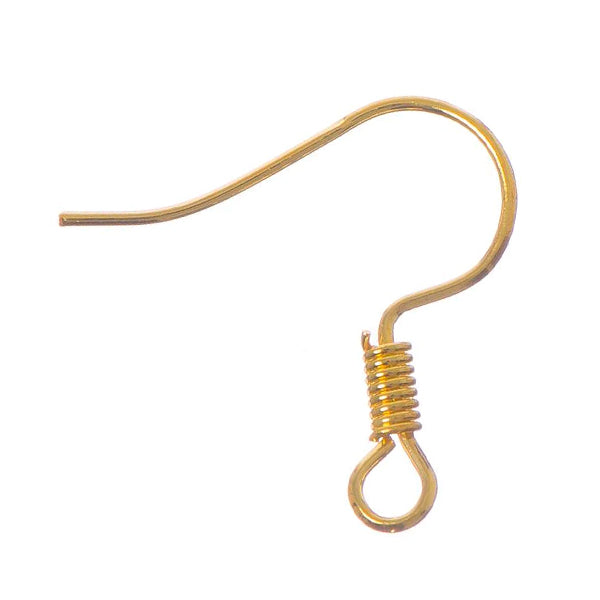 Earring Components
 Eyelets & Snaps
 Findings Sets
 Garment Studs
 Hair Accessories
 Head & Eye Pins
 Jewelry Parts
 Jump & Split Rings
 Key Chain Parts
 Mobile Phone Acc.
 Safety Pins
 Wire Guards
Make a black lava chakra bracelet with seven colourful gemstone beads at the front. Plan your fit, string your beads and learn the finishing skills you can use again.
The beads behind the project

Seven gemstones. Black lava. Your own bracelet.
This project uses 10 mm Chakra Mixed Beads and 10 mm Black Lava Rock Beads on one strand of stretch cord. Select one of each of the seven gemstones for the front, then use lava beads to complete the bracelet. A clasp, crimping pliers and a needle are not part of this method.
The seven-stone focal
A 15–16 inch strand contains approximately 39 beads. Choose seven beads: one of each gemstone in the mix. Check your strand before planning extra bracelets; the number of each stone can vary.
View product →The black lava surround
A 15–16 inch strand contains approximately 38 beads. Set aside 14 for the example bracelet, plus a few for adjusting the fit.
View product →
Stringing material
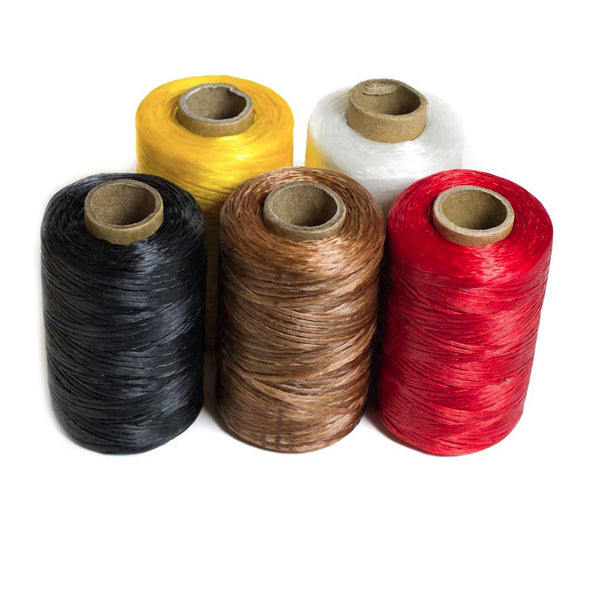
The clear 5 m spool is the cord option for this project. Test it through your actual beads before cutting.
View product →Use what you have
Gather a ruler or measuring tape, scissors that cut the cord cleanly, and a shallow tray with a soft cloth. Good light helps you spot a rough hole before it damages the cord.
Optional helpers: 11 × 14 inch bead mat and Dazzle-It Bead Stoppers.
Check before stringing
Both gemstone listings give an approximate 1 mm hole, with a stated tolerance of ±0.2 mm. Test the 0.8 mm cord through your actual beads before cutting; it must pass freely. Set aside any bead with a chipped hole or an edge that snags the cord.
Buy the quantities for your chosen pattern and fit. Products are sold separately; open each listing for current availability.
Keep the seven gemstones together as the focal point. The example uses seven lava beads, the seven gemstones below, then seven more lava beads. Tie the ends in the lava section, opposite the colourful focal.
The example: 7 gemstone beads + 14 lava beads = 21 beads. At a nominal 10 mm each, the straight bead line is about 21 cm (8.3 inches). This is a starting layout; test the fit on the actual wrist before tying.
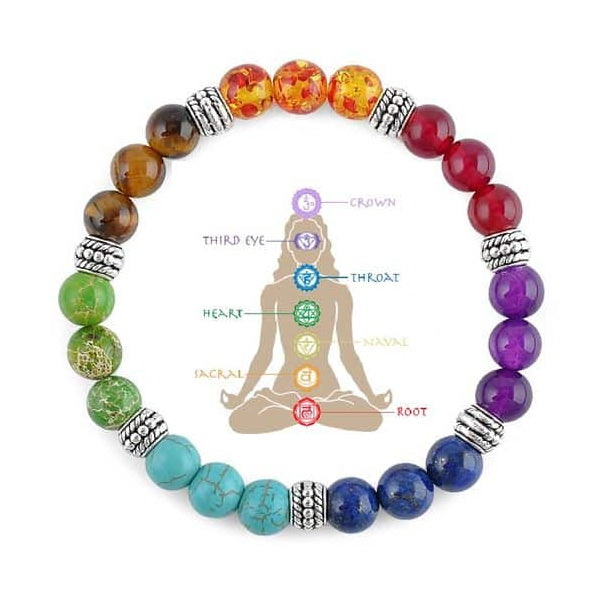
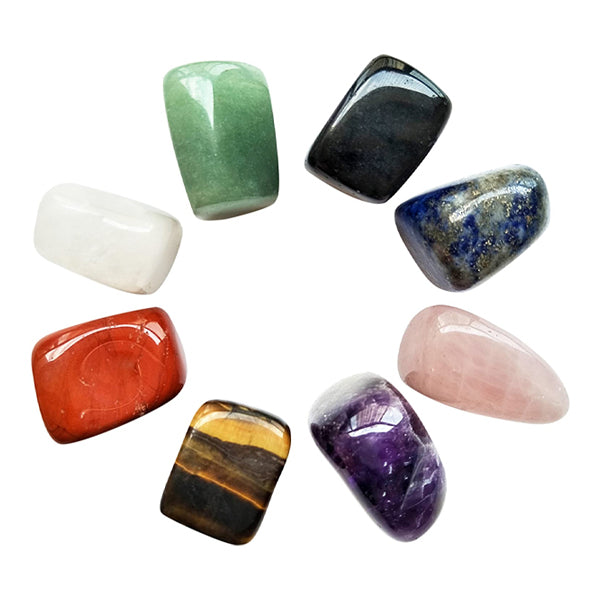
Use one of each stone in the chakra mix. These are the traditional associations listed for this product; natural colours and markings will vary.
Bracelet planner
The seven gemstones stay together. Change the number of black lava beads to plan your bracelet, then check the fit with the actual beads.
Start with 14. Add or remove one at a time. This count is for lava beads only; the seven gemstones are added automatically.
To keep the focal centred, place roughly half the lava beads on each side of it before joining the ends.
Your bracelet layout
Illustrated layout; colours are approximate. Length is bead count × 10 mm laid straight, excluding the knot. It is not the bracelet’s inside circumference or a recommended wrist size.
Lay the beads on your mat in stringing order and take a photo before starting. Keep the seven gemstones together while adjusting the lava count. The natural mix has softer, more varied tones than a uniform rainbow.
Measure the wrist where the bracelet will sit. That measurement helps you start; the trial loop tells you whether the fit is right.
Before the final knot
After stringing, hold the ends securely together over a tray and try the bracelet around the wrist, ideally with a helper. Add or remove beads until it feels comfortable without pulling the elastic tight.
Check that it also passes over the hand without excessive stretching. A larger bead takes up more space inside a bracelet, so a flat measurement alone cannot confirm the fit.
Keep fitting simple
Add or remove lava beads one at a time and keep the seven gemstones together. Divide the lava beads as evenly as possible on either side before tying; an odd count simply leaves one extra on one side.
For a gift, compare with a comfortable bracelet made from similar-sized beads when possible. More fitting help and a cord-length helper →
Tick each step as you go. These ticks stay on this page only and reset when you leave.
0 of 8 steps checked.
New to knotting? Practise once on spare cord before closing the bracelet. See the knot and finishing guide → · Check adhesive instructions →
Before wearing or gifting, look over the entire bracelet in good light.
No slipping knot, cut cord or sharp tail. Any compatible adhesive has completed its full cure.
It sits comfortably and moves over the hand without force. The beads are not locked onto tightly stretched cord.
The pattern is as intended and there are no chipped holes, rough edges or damaged components.
Keep it looking good: roll it gently over your hand. Remove it for bathing, swimming and cleaning; avoid soaking the bracelet. Wipe gently with a soft, dry cloth and restring when the cord shows damage or loses recovery.
Small adjustments are a normal part of learning to bead.
Yes. Test the actual holes and choose cord suited to the beads and their weight. This planner assumes every bead is 10 mm along the stringing direction. If your beads differ in size or shape, use it for colour counts only and measure the real layout.
A neat, secure knot matters more than making it disappear. Do not force it into a hole or cut the tails flush just to hide them. If the hole is too small, keep the closure accessible or revise the design with an appropriate finishing bead.
Recheck the fit with the cord relaxed. Too many beads may make it loose; too few may make it tight. Cord that has lost recovery should be replaced. Use the stretch-bracelet troubleshooting guide →
Try the same technique with another gemstone combination first. When you want to move to a clasp or learn stitched beadwork, check the Bead & Thread Compatibility Guide before choosing a new stringing material and finishing method.
Bring your beads or their product details, your planned pattern and the cord packaging. We can help you check the combination. Contact i-Bead Inc. →
New arrivals, inspiration, updates and offers, straight to your inbox.
Thanks for subscribing!
This email has been registered!
Last updated: October 19, 2026
Summary of i-Bead Inc.'s Terms of Service:
Product Descriptions: i-Bead Inc. strives for accurate product information, but errors may occur. Product availability and specifications, like size, are subject to change.
Product Images: Images are for representation purposes; actual products may vary in appearance due to display settings or manufacturing differences.
Copyright & Intellectual Property: All content on the Website is owned by i-Bead Inc. or its licensors. Users are granted a limited, non-commercial license to view and print content for personal use but cannot reproduce or distribute it without permission.
Trademarks: The i-Bead name and logo are trademarks of i-Bead Inc. Unauthorized use of trademarks is prohibited.
Use of the Website: Users must comply with laws and the Terms. Account creation may be required for certain services. Users are responsible for account security and cannot engage in harmful behavior or unauthorized access.
Pricing & Availability: Prices are listed in Canadian Dollars (CAD) and are subject to change. Additional charges for taxes, shipping, and duties may apply. Out-of-stock products may be removed or delayed.
Limitation of Liability: i-Bead Inc. is not liable for any indirect damages, and the website is provided "as is" without warranties.
Privacy & Data Protection: The use of personal data is governed by the company’s Privacy Policy, which users should review.
Indemnification: Users agree to defend and hold i-Bead Inc. harmless from any legal issues arising from their use of the site or violation of the Terms.
Modifications: i-Bead Inc. can update these Terms at any time. Changes will be effective upon posting.
Governing Law: The Terms are governed by the laws of Ontario, Canada, and any disputes will be resolved in Ontario courts.
Contact Information: For questions, users can contact i-Bead Inc. at their address or via email or phone.
Summary of i-Bead Inc.'s Refund Policy:
In-Store Purchases: Items can be returned within 30 days with the original receipt for an exchange, store credit, or refund. Must be unopened and in original condition.
Online Purchases: Returns allowed within 30 days of receiving your order. Prior authorization required. Items must be unopened and in original condition.
Non-Returnable Items: Sale items, opened packages, broken strands, cut items (e.g., fabric, ribbon, rhinestone banding, etc), books, patterns, and special orders cannot be returned.
Restocking Fee: Returns after 30 days incur a 20% restocking fee. Clearance/discontinued items cannot be returned after 30 days. Returns initiated beyond 90 days are not eligible for a return or exchange.
Damaged/Defective Items: Contact customer service within 48 hours. Return shipping will be covered, and you can request a refund or replacement.
Return Instructions: Include the reason for the return and your order details. We recommend using a traceable shipping carrier. Returns must be prepaid, and customs fees are not covered.
Refund Process: Refunds will be issued after inspection, minus shipping costs, and may take 1-2 weeks to process.
For returns, the items must be in their original, unopened condition.
Shipping rates, eligibility, discounts and exclusions are explained in our Shipping Policy. Available shipping methods and applicable charges are shown at checkout.
Important: Read these limitations before selecting this lower-cost shipping option. Stamped Envelope Shipping uses Canada Post Lettermail, not a tracked parcel service.
If you want tracking, delivery confirmation or available carrier insurance, select an eligible tracked parcel shipping option instead.
Summary of i-Bead Inc.'s Sales Tax Policy:
Orders delivered within Canada: Applicable GST/HST is calculated based on the delivery province or territory. Please see our Sales Tax Policy for current rates.
First Nations tax relief: Eligible customers may qualify for GST/HST relief. Please review our Native Status Cards policy for eligibility and application requirements before ordering.
U.S. orders: Shipping to U.S. addresses is temporarily suspended.
International orders (outside Canada and the U.S.): We do not charge Canadian GST/HST on goods shipped outside Canada. Destination duties and taxes may apply and are the recipient's responsibility.
Summary of i-Bead Inc.'s Native Status Card Policy:
Tax Exemption Eligibility: Status Card holders can qualify for GST/HST relief if:
Ontario Residents: Eligible for an 8% HST rebate on orders shipped within Ontario.
How to Apply:
Important: Misrepresentation of eligibility can result in penalties from the CRA.
In short, eligible Status Card holders can receive tax relief by following the proper procedure and submitting required documentation.
Summary of i-Bead Inc.'s Privacy Policy:
i-Bead Inc.'s Privacy Policy outlines how they collect, use, and disclose personal information. They gather data directly from users (e.g., contact details, order info, payment info) and through tracking technologies (e.g., cookies). This data is used for order processing, marketing, security, and customer support. The company may share data with third-party vendors and partners for service fulfillment, marketing, and legal compliance. Users can access, correct, or delete their data, and opt-out of marketing communications. The policy also covers data security, retention, and international transfers.
By proceeding with checkout, you acknowledge and agree to i-Bead Inc.'s Terms & Conditions and the applicable policies linked above. Delivery estimates are not guarantees; weather, holidays, postal disruptions, and other carrier-related circumstances may cause delays. Shipping services differ in whether they include tracking, delivery confirmation and insurance, so please review the method you select at checkout and our Shipping Policy.