Bead, Needle, Thread & Crimp Compatibility Guide

i-Bead Inc. learning library · Compatibility

Make every part work together.

The right thread, needle and finish make beading more enjoyable. Start with your project, then check the fit before you commit.

Find your starting combination
THE BEADTHE THREADTHE FINISH

A little testing. A much smoother project.

01

What are you making?

Choose a project to narrow the options. The linked threads and needles are from the i-Bead Inc. range carried in store and online. Product pages show current availability; the linked colour is a starting example.

Tiny seed beads

15/0 seed beads & tight stitch paths

A useful starting point when you need to leave room for return passes. Beadsmith specifies a #12 needle for 4 lb FireLine; the bead hole still decides whether the whole combination fits.

For a softer nylon option, try S-Lon 0.09 mm (AA) with a #12 beading needle. Test the complete stitch path before starting.

Check the fit: If the needle needs force, stop. A finer needle can help only if its eye also accepts your thread.

Seed-bead weaving

11/0 seed beads, Delicas & structured beadwork

A practical starting combination for peyote, brick stitch and other structured beadwork. Beadsmith specifies a #12 needle for 6 lb FireLine.

Working with larger holes and fewer passes? FireLine 8 lb with a John James #10 is another option. Check the pattern before moving to thicker thread.

Check the fit: Delica and round 11/0 beads do not have identical hole sizes. Test the actual beads, especially where several rows meet.

Soft fringe

Movement, drape & flowing earrings

Start here

One-G or Miyuki beading thread, starting with a John James #10 where the bead holes allow.

These nylon threads are useful when soft movement matters. Try a #12 only if the thread passes freely through its eye; this is a test-fit starting point, not a guaranteed manufacturer pairing.

Nymo B is another option for a supple sample. Compare a short section before choosing your final thread and tension.

Check the fit: Fringe that curls or stands stiffly may need looser tension or a softer thread. Leave the turning bead free to move.

Bead embroidery

Stitching beads to a foundation

Beadsmith lists its fine S-Lon beadworking threads for embroidery and says they fit a #12 beading needle. Check that the same needle also passes through your foundation.

For closer hand control, try a John James #12 sharps needle on a small sample. Its shorter length changes the feel; do not assume it is identical in thickness to a #12 long beading needle.

Check the fit: The needle must work with three things: the thread, the bead hole and the foundation. Avoid forcing it through any of them.

Jewellery with a clasp

Strung necklaces & bracelets

Start here

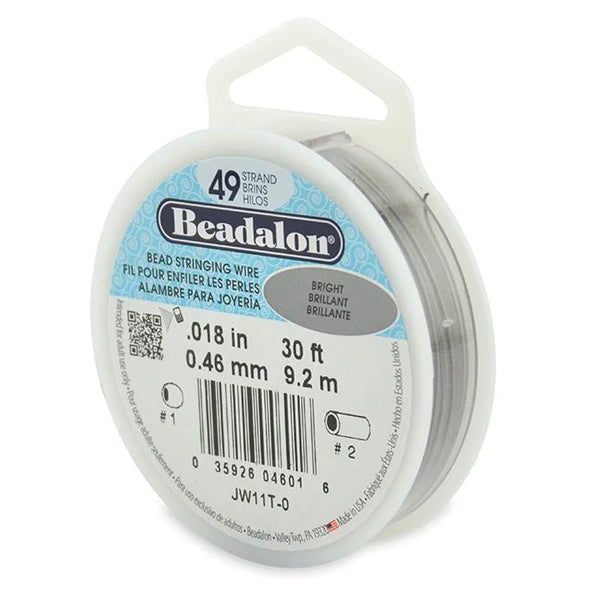
Flex-Rite 49-strand .018 inch beading wire where the smallest bead hole accepts it.

Coated, flexible beading wire is different from sewing thread and shaping wire. You normally string beads directly onto the wire without a needle.

Finish with a crimp and tool specified for that wire diameter and the number of strands passing through the crimp. See the crimp checklist below before choosing.

Check the fit: .018 inch is about 0.46 mm. Leave room for a return tail if your finishing method takes it back through nearby beads.

Stretch bracelets

A flexible fit without a clasp

Start here

Stretch Magic 0.5 mm, 0.8 mm or 1 mm, selected to fit your beads.

String directly onto the elastic when possible. Choose a suitable cord size that travels freely through the smallest hole; the outside size of a bead does not tell you its hole size.

Pepperell recommends a surgeon’s knot or Carrick bend for Stretch Magic. Follow the maker’s knot instructions and test the finished closure before wearing.

Check the fit: Do not substitute an ordinary metal crimp for the recommended knot. A needle adds bulk, so it is not automatically helpful with elastic.

Knotted pearls

Knots between beads or pearls

Start here

Silk D or Silk FF, with a fine collapsible-eye needle if the combined thickness fits.

Choose the silk by the pearl hole and the knot you want to create. Thread that passes through easily may still make a knot too small to hold outside the hole.

Test both a threaded pass and a finished knot on several pearls. Plan your clasp attachment before stringing; a threaded needle can create a thicker section at the eye.

Check the fit: This is a test-fit combination. Fine pearl holes may be too small for the folded thread, even when the unthreaded needle fits.

02

One successful pass is only the beginning.

Compatibility depends on the smallest usable hole, the threaded needle and how many times your pattern returns through the same bead.

  1. Start with the actual beads. Test several from the strand or tube. Hole sizes can vary, and coatings or sharp edges can change the fit.
  2. Thread the needle first. The eye and the thread folded through it create a thicker section than the bare needle shaft.
  3. Follow the busiest part of the pattern. Make the planned return passes with the same thread and needle. A new, empty hole is not a full compatibility test.
  4. Check the finish too. Allow space for knots, return tails and the clasp connection. Test the closure gently before wearing the piece.
Stop when it needs force. Pulling a needle through with pliers can break the bead, snap the needle or damage the thread. Reconsider the needle, thread thickness or stitch path instead.
03

Match the thread to the needle.

The first three rows follow Beadsmith’s needle guidance. The remaining rows are practical combinations to test with your materials. None guarantees a particular number of passes through every bead.

Starting combinations from our range
Thread Needle to try What to check
FireLine 4 lb / 6 lb John James #12 Beadsmith specifies #12 for these two FireLine sizes. Test return passes through your chosen beads.
FireLine 8 lb John James #10 Beadsmith specifies #10 for larger FireLine diameters. A thicker thread leaves less room for repeated passes.
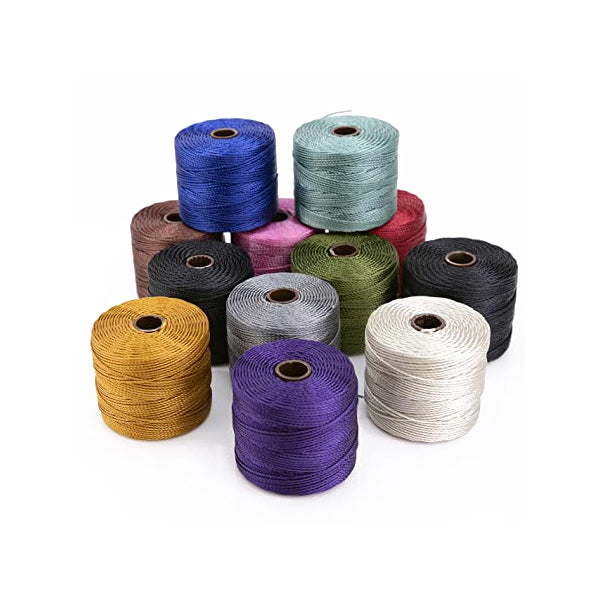
S-Lon 0.09 mm AA / 0.11 mm D John James #12 Beadsmith states that these fine nylon beadworking threads fit a #12 beading needle. They are different from S-Lon cord and S-Lon Fire.
One-G / Miyuki John James #10; test #12 for finer work A practical nylon-thread starting point for softer beadwork. The eye must accept the thread without scraping or fraying it; the bead must accept the threaded eye.
Nymo B John James #10; test #12 if needed Sample the drape and tension first. Lettered thread sizes are brand-specific, not a universal diameter scale.
S-Lon Fire 4 lb / 6 lb John James #10 or test #12 A fused polyethylene option in our range. This is a test-fit suggestion; do not assume that another brand’s pound rating means the same thickness.
WildFire 10 lb, .006 inch John James #10 as a test-fit starting point Use the stated diameter as well as the strength rating. Check the eye and the number of bead passes before beginning.
Silk D / Silk FF Fine collapsible-eye needle For stringing and knotting when the combined needle-and-thread thickness fits. Also test whether the knot stays outside the bead hole.
Pound rating is not thickness. Compare the manufacturer’s diameter as well as its strength rating. For example, WildFire 10 lb is listed as .006 inch (0.15 mm), while S-Lon Fire 6 lb is also listed as .006 inch (0.15 mm). Similar diameters do not guarantee the same feel or performance.
What about the other threads in our range?

KO, Sono, Nymo 0, Nymo D and Nyline 00 offer further choices. Start with the thread specified by your pattern when it is suitable for your beads, then test the needle eye and return passes.

Do not exchange threads solely because they share a letter, number or “beading thread” label. Fibre, construction and thickness affect how the beadwork behaves.

04

Choose the needle shape as well as the size.

Within a conventional beading-needle range, a higher number usually means a finer needle. Different needle families can use different sizing systems.

Short sharps

John James #12 sharps are shorter, making them worth trying for close embroidery work. Check the foundation and bead together.

The same size number on a sharps needle and a long beading needle does not promise identical dimensions.

Big-eye needles

Big Eye beading needles open along much of their length, making them easier to thread. They can be useful for stringing when the holes are roomy enough.

An easy-to-thread eye does not make thick thread fit a small bead hole.

Fine collapsible eyes

Fine collapsible-eye needles have an eye that compresses as it passes through the bead. They are useful to try with silk and other stringing threads.

Allow for the thread folded at the eye. For a rigid fine beading needle, our Miyuki extra-fine set is another option to test.

05

A secure finish needs a matched system.

Choose the stringing material first. A finish that works for flexible beading wire is not automatically right for nylon thread, silk or elastic.

Flexible beading wire

Crimp to the maker’s specification

Match wire diameter, crimp size and material, the number of wire strands through the crimp, and the tool required to form it.

Beading thread or silk

Use a suitable stitched or knotted finish

Follow the pattern’s finishing method. Ordinary wire crimps are not a general substitute for properly secured thread ends.

Stretch Magic

Use the recommended knot

Pepperell recommends a surgeon’s knot or Carrick bend. Test the knot and follow any adhesive maker’s compatibility and curing instructions if adhesive is used.

Before choosing a crimp

  1. Read the wire package. Look for the maker’s recommended crimp, wire diameter and finishing method.
  2. Check the crimp specification. Outside diameter, length and inside opening are different measurements. A product labelled “2 mm” does not by itself establish the internal opening.
  3. Match the tool. A standard folding crimp, a round-forming crimp and a specialty locking finish may need different tools and steps. Follow the instructions for your exact system.
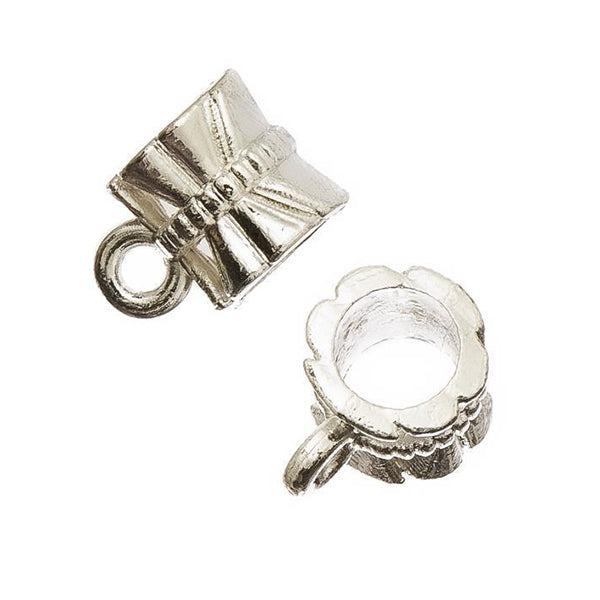
  4. Leave a flexible connection. The clasp should move freely. Check the finished crimp and return tail, then apply a firm, controlled pull test before wearing.
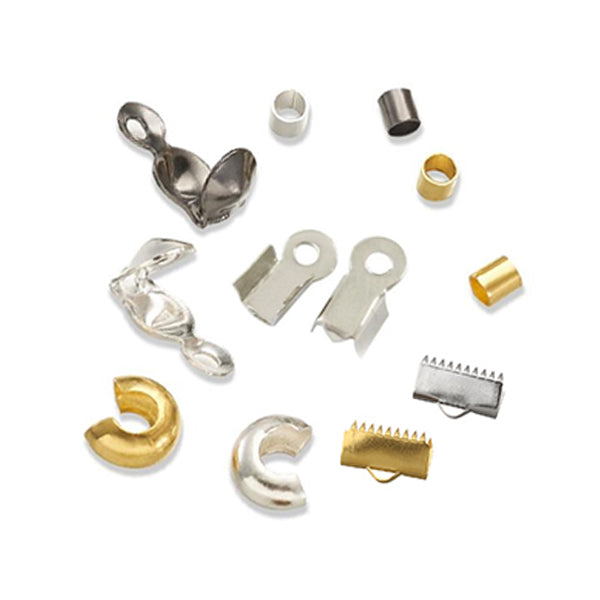
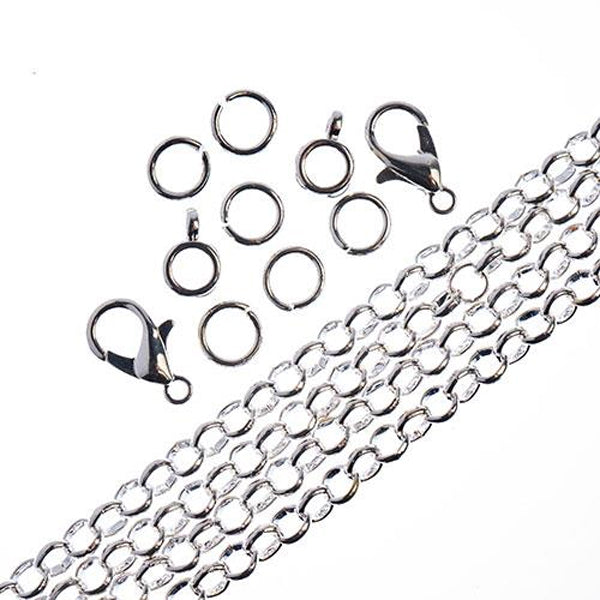
Our crimp listings are starting points, not a universal pairing chart. We carry 1.5 mm crimp tubes, 2 mm crimp tubes and 2 mm crimp beads. Confirm the package specification with your chosen wire and tool. We do not promise that every “2 mm” crimp fits every .018 inch wire.

A crimp cover is decorative: it hides a properly formed crimp but does not replace one. Need help matching parts? Bring the wire and findings to i-Bead Inc., or contact us with their product names and sizes.

06

When something does not feel right.

A small adjustment at the sample stage is easier than repairing a finished piece.

The needle fits, but it gets stuck once threaded. Why?

The eye and folded thread need more space than the bare shaft. Check for a tight eye, crowded bead hole or sharp edge. Try a finer compatible combination or change the stitch path; do not force the needle.

Can I use the same combination for every 11/0 bead?

No. “11/0” describes a bead size category, not a guaranteed hole diameter. Brand, shape, coating and the number of thread passes all affect the usable space.

Will a stronger thread always make better beadwork?

No. Extra thickness can reduce the number of passes or alter the drape. Choose a suitable strength for the design while keeping enough room for the full stitch path.

Why is my thread fraying or breaking?

Check the needle eye and bead holes for rough edges, reduce unnecessary tension and inspect heavily worked sections. Replace damaged thread rather than hiding the weak section inside the beadwork.

Why is my crimp slipping?

Check whether the wire diameter, number of strands, crimp and tool match the manufacturer’s instructions. A poorly matched or incorrectly formed crimp can slip. Replace a failed crimp and inspect the wire for damage before finishing again.

Are S-Lon thread, S-Lon cord and S-Lon Fire interchangeable?

No. Fine S-Lon beadworking thread is a nylon monocord; S-Lon cords have different constructions and sizes; S-Lon Fire is fused polyethylene. Choose by the full product name and stated size, not the shared brand name alone.

07

Needles, cords & wires: the full reference.

Explore needle types, threading tips, stringing materials, strand counts and wire gauges. These detailed references bring the Beading Needle Guide and Cord, Thread & Wire Guide together in one place.

Complete needle guideNeedle types, sizing, threading and troubleshooting

Meet the needle types

Beading needles

Beading needles

Long, slender needles designed for repeated passes through beads. Traditional numbered needles are useful for loom and off-loom weaving. Shorter beading or embroidery needles can feel easier to control when stitching onto a foundation.

Try for: seed bead weaving, loom work and bead embroidery.

Big-eye needles

Big-eye needles

The opening runs along much of the needle, making threading easier. The needle and folded thread still need to fit through your smallest bead hole; an easy-to-thread eye does not guarantee an easy pass.

Try for: straightforward stringing with a compatible cord or thread.

Collapsible-eye needles

Collapsible-eye needles

A flexible wire needle with an eye that compresses as it passes through a bead. Useful for stringing, especially when a rigid needle eye is too bulky. Match the needle strength to the job.

Try for: pearls and small-hole beads, after testing the fit.

Curved needles

Curved needles

The curved shape helps with particular approaches or tools. Some curved needles are designed for bead spinners; others are intended for sewing or reaching awkward spaces. Choose the type specified by your project.

Try for: a compatible bead spinner or a specialist stitching task.

Sewing needles

Sewing needles

A sewing needle may work with larger-hole beads, but its eye or shaft can be too wide for small seed beads. Test the full needle with the actual thread before beginning.

Use the beading-needle combinations above as your shopping starting point, and check the fit with your actual materials.

Choose the needle, thread and bead together

Start with the smallest hole

The smallest bead hole—and the tightest point in your pattern—sets the limit. A bead’s outside size does not tell you its hole size.

Allow for return passes

A needle may fit on the first pass but become too tight once several threads occupy the hole. Test the number of passes your pattern needs.

Read the size in context

Within a traditional numbered beading-needle range, a higher number usually means a finer needle. Sizes and lengths vary between makers and needle families.

Choose a comfortable length

Long needles can pick up several beads at once; shorter needles offer close control. Use the length that suits your hands and technique.

Thread it without the struggle

  1. Cut the thread end cleanly. If the thread is flattened or frayed, trim a fresh end.
  2. Hold the thread close to its tip and bring the eye to it. For a big-eye needle, gently open the eye as its maker directs.
  3. Pull through a comfortable tail. Use a single or doubled thread only as your technique or pattern requires.
  4. Try several passes through a spare bead. If it catches, use a finer combination or a more suitable bead.
When a needle starts to resist

Stop rather than forcing it. Repeated pressure can break a bead or bend the needle. Check for a blocked hole, crossed threads or a bent tip. Replace damaged needles and keep loose needles in a secure case.

Complete cord, thread & wire guideEight material types, strand counts, wire gauges and finishing

Choose your foundation

Silk cord

Silk cord

A traditional choice for knotted pearl and gemstone strands. Our Silk D and Silk FF are supplied on spools; choose a compatible needle separately. Choose the cord size for the bead holes and the knot size you need. Silk strands need careful handling when wet.

Finish: knotting and suitable clasp attachments, following the project method.

Nylon beading thread

Nylon beading thread

Flexible thread such as Nymo is used for bead weaving and stitching. Select the thread size for the bead holes and number of passes. Follow the thread or pattern instructions for stretching and conditioning.

Finish: a secure stitch path and woven-in ends appropriate to the technique.

Clear illusion cord

Clear illusion cord

Clear monofilament-style cord can make beads appear to float. Check its diameter, flexibility and fastening instructions; not every clear cord behaves or finishes the same way.

Finish: the manufacturer’s recommended knots, connectors or crimps.

Stretch cord

Elastic cord is useful for slip-on bracelets. Choose a compatible bead-hole size and follow the cord maker’s instructions for preparation, knotting, adhesive and curing. Pulling a finished bracelet over an opening that is too small strains the cord.

Finish: a manufacturer-recommended knot or connector; hide it only after checking it is secure.

Multistrand beading wire

Multistrand beading wire

Fine metal strands inside a protective coating create a flexible stringing material. It is useful for necklaces and bracelets that need drape with a crimped finish. Choose the diameter for the holes, return passes and project demands.

Finish: compatible crimps and findings, matched to the wire and tool.

Memory wire

Memory wire

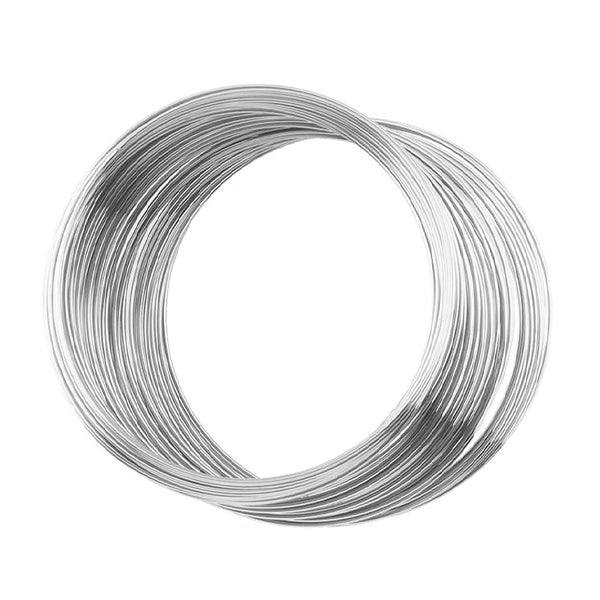
Hardened wire holds a coiled shape. It is available in different constructions and sizes; choose the coil for the intended piece. Use dedicated memory-wire cutters and follow the maker’s end-finishing method.

Finish: suitable end loops or approved end caps; not a conventional flexible-wire crimp finish.

Single jewellery wire

Single jewellery wire

Use solid wire for loops, wraps, links and shaped elements. The metal, gauge and temper all affect how it bends and holds its form. Dead-soft and half-hard wire behave differently, and bending can work-harden the metal.

Finish: shaped or wrapped connections, with cut ends positioned safely.

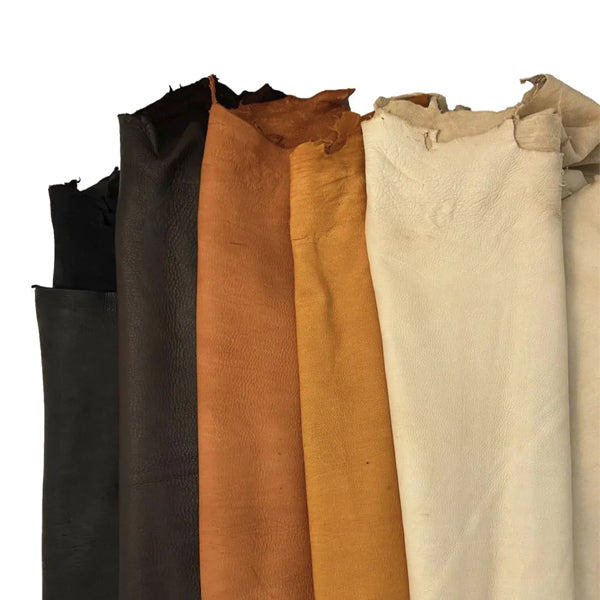
Leather & other cord

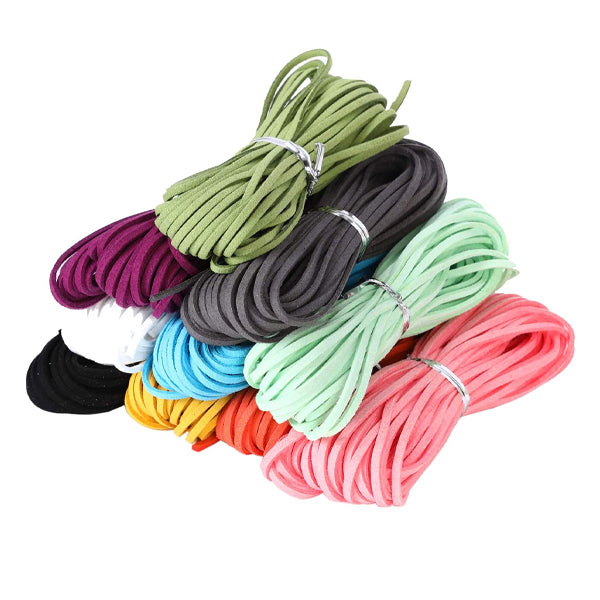
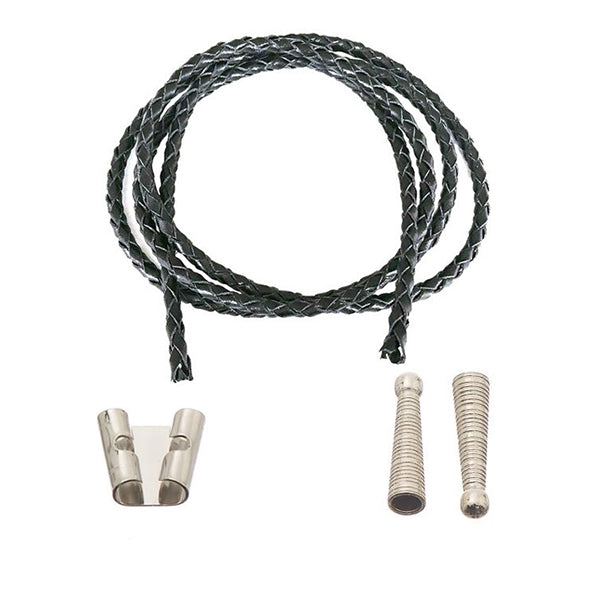
Cord gives pendants and larger-hole beads a different scale and feel. Check the hole size, desired drape and whether the surface transfers colour. Adhesive and cord-end choices depend on the actual cord material.

Finish: suitably sized cord ends, knots or other connectors specified for the material.

7, 19 or 49 strands?

Within comparable beading-wire ranges, a higher strand count generally offers greater flexibility. Strand count is not the same as diameter or a guarantee of breaking strength.

7 strands

A firmer, economical starting option where a more structured drape suits the design.

19 strands

A useful balance of flexibility and structure for many everyday strung designs.

49 strands

A supple option for designs where a fluid drape is especially important.

Check the full specification

Compare diameter, rated strength, coating and recommended crimp size. Test the complete connection before finishing the piece.

Understand wire gauge

In the American Wire Gauge (AWG) system, a higher number means a thinner wire. The values below are approximate nominal diameters. Packaging may round measurements, and other gauge systems differ.

AWG Diameter, mm Diameter, inches
34 0.16 0.0063
32 0.20 0.0079
30 0.25 0.0100
28 0.32 0.0126
26 0.40 0.0157
24 0.51 0.0201
22 0.64 0.0252
20 0.81 0.0319
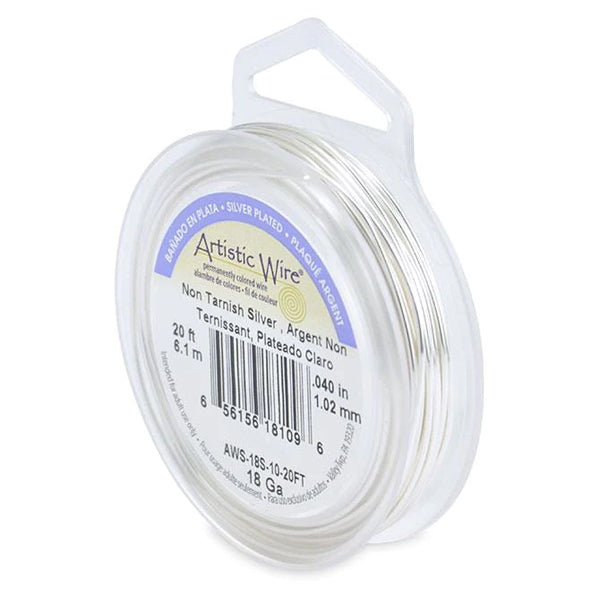
18 1.02 0.0402

Plan the finish before you start

  1. Choose the fastening method alongside the stringing material. A knot, crimp and cord end are not interchangeable solutions.
  2. Test the connection on a short sample using the actual beads and findings.
  3. Leave enough working length for the finishing method. Check the drape and overall fit before trimming tails.
  4. Inspect for slipping, sharp ends and stress points. Follow adhesive curing times if your chosen method uses adhesive.

Continue with beading techniques for knots, crimps and connections.